Thursday, December 27, 2012

On the Clothesline

In a rush, and due to never-ending rain, I was forced to take pictures inside. Not only that, I really had to get creative with how I positioned the quilts. My apologies for poor photography.

These two quilts were commissioned for two boys as Christmas gifts from their aunt. The requirements were very general.  I was instructed to simply make them "bigger than the baby sized ones." : ) I hope the boys are happy and enjoy these snuggly goodies. May they last a very long time!

Wannabe Pendleton Front
 Pendleton Woolen Mills create gorgeous Native American inspired items: blankets, rugs, handbags. My quilt uses  a traditional American quilt pattern, but the colors hopefully reflect more of that Pendleton look. I even used all flannel to recreate the soft woolen texture.
Pendleton Back

The Young Professional


  The Young Professional quilt is a series of ten zigzags using fabrics that represent a sophisticated wardrobe and typical commuting life. There is a city scene and a print of cars for one's commute. Then the rest of the fabrics act as solids to show off like they are either classy handkerchief or tie prints.
The back has a very fun flannel accent of mustaches. Bordered by fine, black and white zigzags and a small strip of white at the bottom. (I had considered appliqueing a mustache there....)
Young Professional Back      
Ready to deliver!


Here are the quilts bundled up and tagged, ready to be dropped off in time for Christmas!

Happy New Year!

Wednesday, December 19, 2012

Updates on Quilts

I finished this green quilt some time in early November. I think I forgot to take a picture of it all completed... oops! ***See Post Script at the bottom.***


I'm working on this quilt. It should be large. It has a city print and cars and lovely basic prints that remind me of sophisticated ties and handkerchiefs.  I'm calling it Young Professional. It's a special order for a 16 year old.

The first quilt that I sold! It had the orange backing and zigzags on the front. Thank you, Ashley, for purchasing this quilt for your future baby. And thank you for selling my quilts in your lovely store, Atlas Decor!


Post Script. 12/27/2012
I found pictures of the completed quilt! Hooray!
Front
Back

Closeup to feature the quilting


Wednesday, October 24, 2012

Quilting makes the quilt!

The exciting thing about sewing quilts, is the quilting part. Quilting is the act of connecting the layers-- front, back and batting-- all together so nothing shifts around.

There are many ways of quilting. One can tie it together every few inches with yarn or thick thread. One can use a basic home sewing machine. (My newest Alma Mater quilt, was quilted at home. Straight-ish lines for me.) Or there are such wonders as longarm quilting machines.  These machines are large and expensive (a low price is maybe $8,000) but super cool!

The fabric store in McMinnville has a basement with several of these machines for use. One can take a class with them, then rent their use for an afternoon, or one can test drive them in order to determine what to buy.

My boss, Laurie, and I took the longarm quilting class a couple weekends ago.  I got to quilt something that she started a couple months ago and that I had offered to quilt for her. Laurie likes straight lines and geometric-like grids, so I was pretty baffled for quilting ideas because an arrangement of straight lines just wasn't going to enhance the piece (especially not with my beginning skills.)

Luckily, I still had not gotten around to quilting it by the time our class came up, so I packed her quilt and was prepared to finally be done with the project.

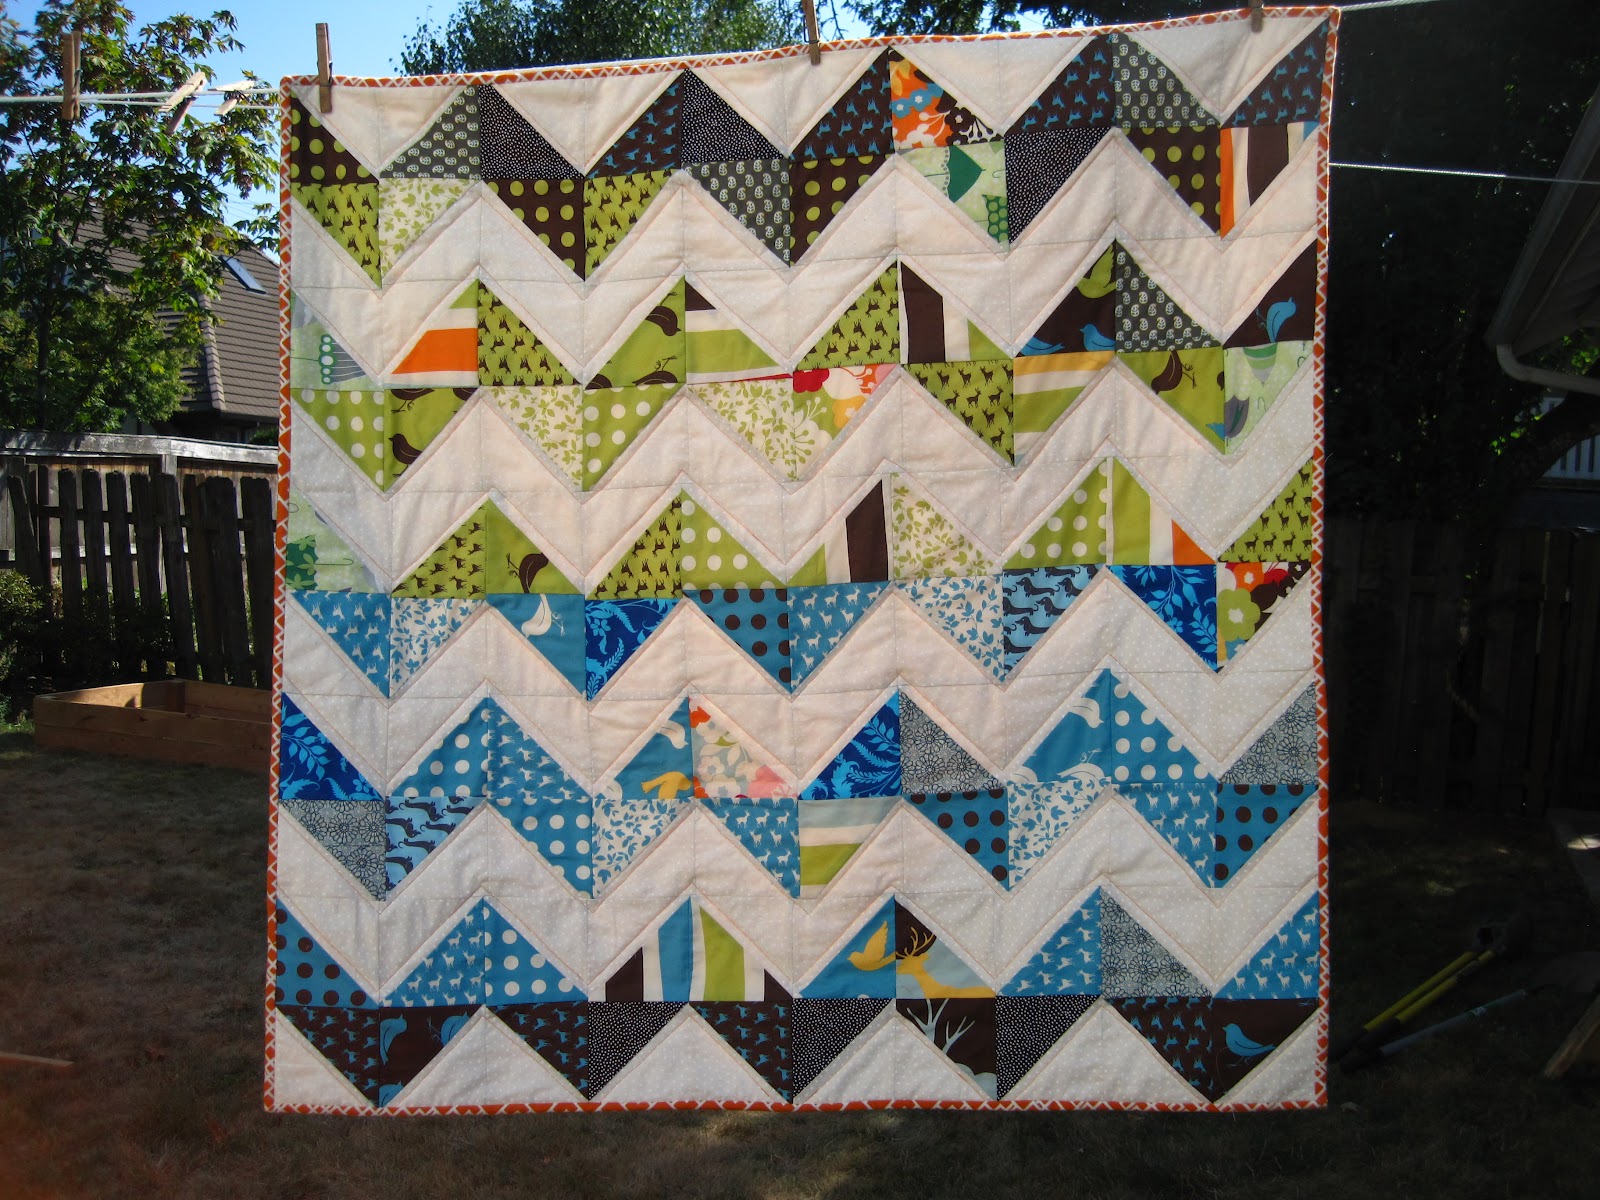
Here is how the quilt ended up: a pattern of curlicues and loops in multi-colored thread.


Closeup of the quilting


On the Clothesline

The rainclouds came and went-- I finished this quilt just in time for a bit of sunshine!

Introducing the Alma Mater Quilt!


I did not intend to create an homage to Linfield, but yes, I did happen to use red and purple together. Valentine's-like colors was what I pictured.  Zack, however quickly put two and two together and asked, "You're making a Linfield quilt?" So there you have it~ Go Wildcats!

Monday, October 8, 2012

On the Clothesline


Newest on the clothesline is another baby quilt. This one is very very bright! The quilting has two lines of Xs centered in the middle star on the front.  I just love the flannel backing I found.

Also, can you believe Oregon is still having great weather into October? I expect the rain to come by the weekend though. Or at least by Halloween. What's more classic than all the Oregonian kids dressed up with raincoats and layers included in their costumes?

Dress

Here are a couple pictures of the dress. When I wear it, it feels a bit off centered (due to my sewing, not my body.) Sewing the zipper (first one ever) was  a good learning lesson. It took a lot of patience, but was fairly simple. This was a good practice run because I had not encountered a lot of the basic steps before. Dressmaking is waaaaay different than quilting.... especially since I'm not a fussy quilter. I don't mind off centered things or mismatched points in my quilts.

Hand basting the zipper in place

WHAT IS THAT?
 Somewhere I must have missed a step that instructed me to trim or fold that excess over. Anyone have ideas on what step I missed?
Front 

Back 

First zipper ever-- I'm still pretty proud of it.

Sunday, September 30, 2012

Simultaneous Projects

New quilt coming up:
Right after I finished that last baby quilt I started on a new one! I was convinced it would be completed within a week of starting, but that didn't happen. I have the binding sewn on and will take the rest of this week to watch Downton Abbey and stitch it to the back.

Planning 
Setting up


Dressmaking:
Passport Dress by Lisette
Tomorrow and Tuesday I have off and I'm going to sew a dress. My mom and I read through the instructions together. She measured me and we traced the necessary lines. I am very fearful of tackling this project. It's been more than a month since I bought the fabric and pattern. There have been excuses like, "I should clean," "I should take Zip for a walk." "What if it's a total waste of time?" If I allow myself two days to devote to this project, I think I can handle the pains of taking my time, learning new sewing skills and maybe failing.

Continental Dress by Lisette

I have wanted to sew a dress for a really long time. These gorgeous dress patterns by Lisette are inspiring me to figure it out.


Small Travel bag:
At the quilt expo a couple weekends ago in Portland I bought this adorable fabric with animal schoolchildren. (Sorry no photo yet.) Phrases are written down: "Going to school by bus. School is fun every day." And "There are a lot of friends." I am still new at sewing so this will be yet another learning project and I'll make sure to share how it goes.  I's using Heather Ross' Weekend-Away Travel Bag pattern from her book Weekend Sewing.
from her book


Sunday, September 16, 2012

On the Clothesline

Newly pinned to the clothesline is the finished quilt!
This colorful baby quilt measures a tad under 40 X 40 inches.

Front 
Back 
Together

Quilt in Progress

 I am not very particular about my fabric measurements or straight line sewing, so it is inevitable that my quilt blocks will not perfectly match up.  I'm always  frustrated by that lack of crisp coordination. And yet I don't really take the necessary steps to getting those clean lines. While I'm piecing the quilt top together, I can get really down on myself for making this shoddy product.  But after awhile I remind myself that everyone has their own learning curve and I'm in the midst of mine. I just started sewing one year ago.

So I to step back from those numerous mistakes and look at the things that drew me to the project.
Awesome Fabric

The Process
Here's an example of two fabrics that I wanted to position side by side: the yellow deer and the antlers of a larger deer.  The Oh Deer! fabric collection has two scenic, flowery fabrics with deer in the picture and I was glad to at least capture a couple of those because  they help keep up the forest theme.

The Whole Project


 As you can gather from my previous post about possibilities, I like setting out all the fabrics. And once I've chosen an arrangement, I like to keep it exactly how I want it.


And most of all, I always find relief (and joy!) in seeing the project as a whole. Here's the quilt sandwich, pinned and ready to be rolled up and quilted. I barely notice my mistakes now that I have the bigger picture.

Tuesday, August 28, 2012

Possibilities

The July/August issue of Fons & Porter's Love of Quilting has an awesome tutorial for Quick Triangle-Squares.  I don't normally splurge on pre-cut fabric, (like charm packs, jellyrolls, etc.) but I think I wanted to test the efficiency of the how-to with the ease of the charm pack.
(In all honesty, I fell in love with the prints at the fabric store. Leaving without the Oh Deer! fabric was not an option.)

Once I had all of my flying geese triangles I realized there are so many possibilities!
Colored squares with a white zig-zag

Large square diamonds

Color zig-zag with white square diamonds

Traditional zig-zag

+/- final layout


Last weekend I visited my parents and asked my mom to help me decide. I'm sticking with what I was originally inspired by: the traditional chevron/zig-zag design.  The chevrons are still easy to identify with so many prints.

I already have the back fabric; as soon as I finish a couple work projects this quilt will be done in no time!
Orange flannel for the backing

Oh Deer!

My newest fabric buy: charm packs of Oh Deer! by MoMo
A sample of them
I've separated the colors-- pinks and reds in one pile and blues, greens and browns in another. My goal is to create a couple baby quilts-- one for my sister and one to sell.

My latest inspiration has been from all of the zig-zag/chevron quilts out there.
from CluckClucksew.com

from TwoMoreSeconds.com